Add Adhoc Visit: verschil tussen versies
Uit Manual Ident2be
(Nieuwe pagina aangemaakt met ' == Create Adhoc Visit Page == The Create Adhoc Visit Page is designed for quickly scheduling unscheduled or emergency visits. This page focuses on capturing essen...') |
(geen verschil)
|
Huidige versie van 18 aug 2024 om 22:41
Create Adhoc Visit Page
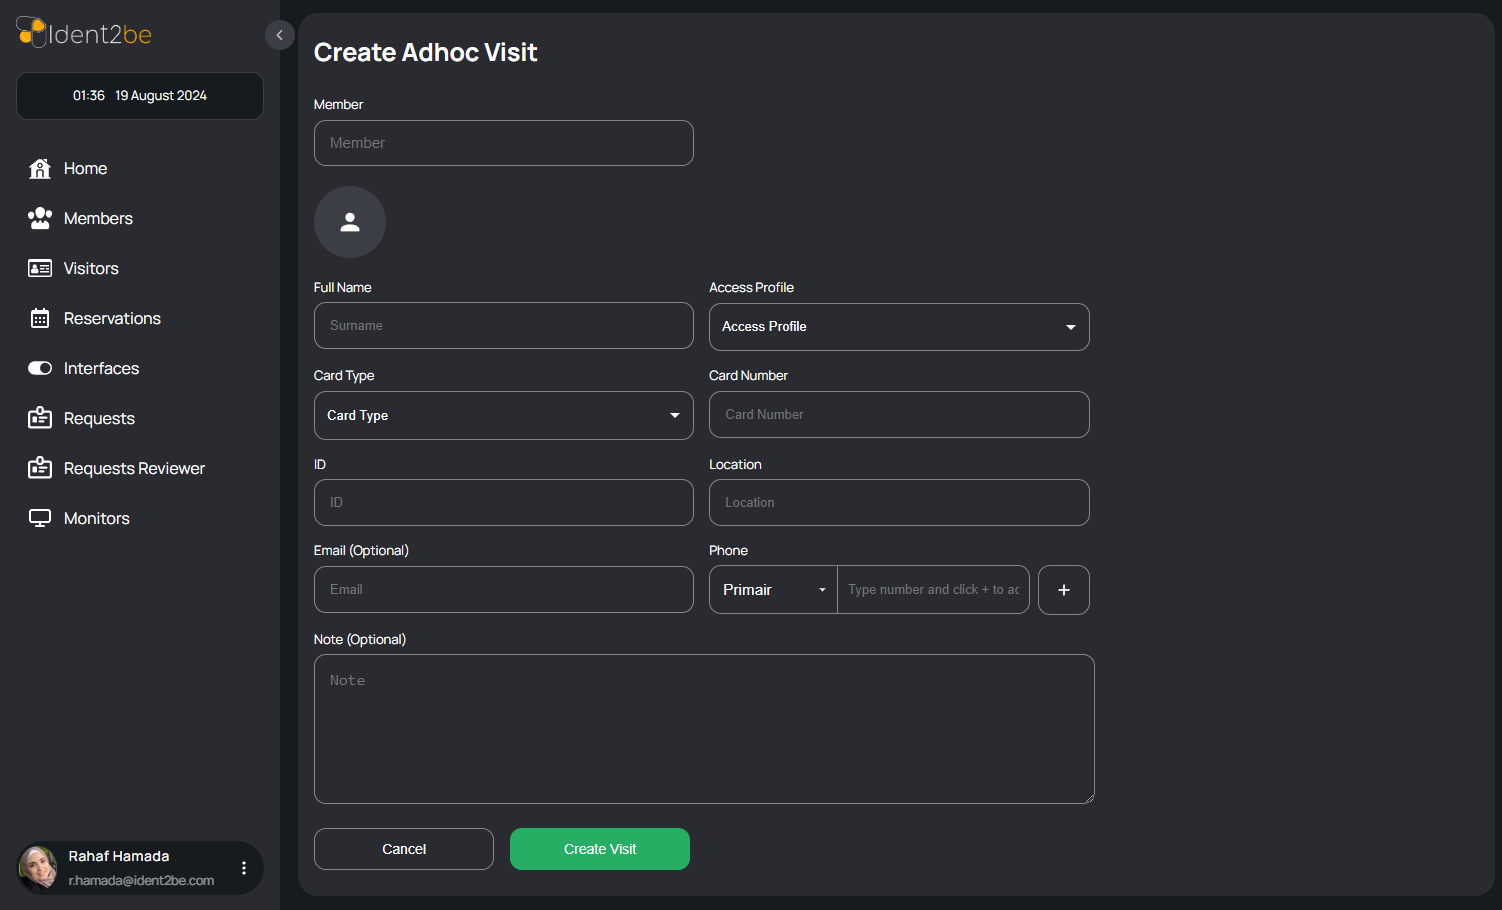
The Create Adhoc Visit Page is designed for quickly scheduling unscheduled or emergency visits. This page focuses on capturing essential visit information in a single tab, allowing for rapid setup.
Visit Info Tab
This tab consolidates all the necessary details for creating an adhoc visit. Here are the detailed elements:
- Member Selection:
- A dropdown menu where users can select the member who will be hosting the visit. This is crucial for associating the visit with a specific company member, ensuring that the visitor's entry is expected and properly logged.
- Visitor's Picture:
- An option to upload or capture a picture of the visitor. This feature is essential for security purposes, allowing the company to have a visual record of the visitor.
- Visitor's Phone Number:
- An input field to record the visitor's contact number. This allows for quick communication if there are any issues or changes to the visit.
- Visit Date:
- A date picker to select the date of the visit. This ensures that the visit is recorded on the correct day, which is particularly important for day-to-day operations and security.
- Visit Time:
- A time input field to specify the exact time of the visit. This is important for coordinating the visitor's arrival with the host member's availability.
- Additional Information:
- Fields for any extra notes or instructions regarding the visit. This could include special requests, parking instructions, or any other relevant details.
- Submit Button:
- A button to finalize and submit the visit information, creating an entry in the system that notifies the host member and logs the visit for security and record-keeping purposes.
